HOW-TO
Sanding Tips
Sandpaper or sander? What do you with the dust? Don’t guess. Get the expert sanding guidance you need here.

HOW-TO
Sanding Tips
Sandpaper or sander? What do you with the dust? Don’t guess. Get the expert sanding guidance you need here.
Sanding Tips
Choosing the right sandpaper
Sandpaper is produced in various degrees of coarseness, measured by ‘grits.’
- Coarse sandpaper (below #100-grit) is only used to quickly remove wood or layers of an old floor finish. It is most often used when refinishing floors or refitting doors and windows.
- Medium sandpaper (#100-grit and #120-grit) is ideal for removing shallow scratches, dents and rough edges that could cause splinters. Either of these two grits is often used for a first sanding of most wood projects.
- Fine sandpaper (#220-grit) is used for a second sanding. It will remove any scratches left by the medium sandpaper and will eliminate any remaining loose fibers in the wood. After this second sanding, the wood is ready for a stain or clear protective finish to be applied.
Capturing dust
Dust is the enemy of a smooth finish. Blowing sanding dust off your wood project with an air compressor or brushing it onto your floor can still result in it ending up in your wet stain or finish. Instead, use a bristle attachment on a vacuum to safely capture it once and for all. Or, remove the dust with a damp cloth.
Choosing the right sander
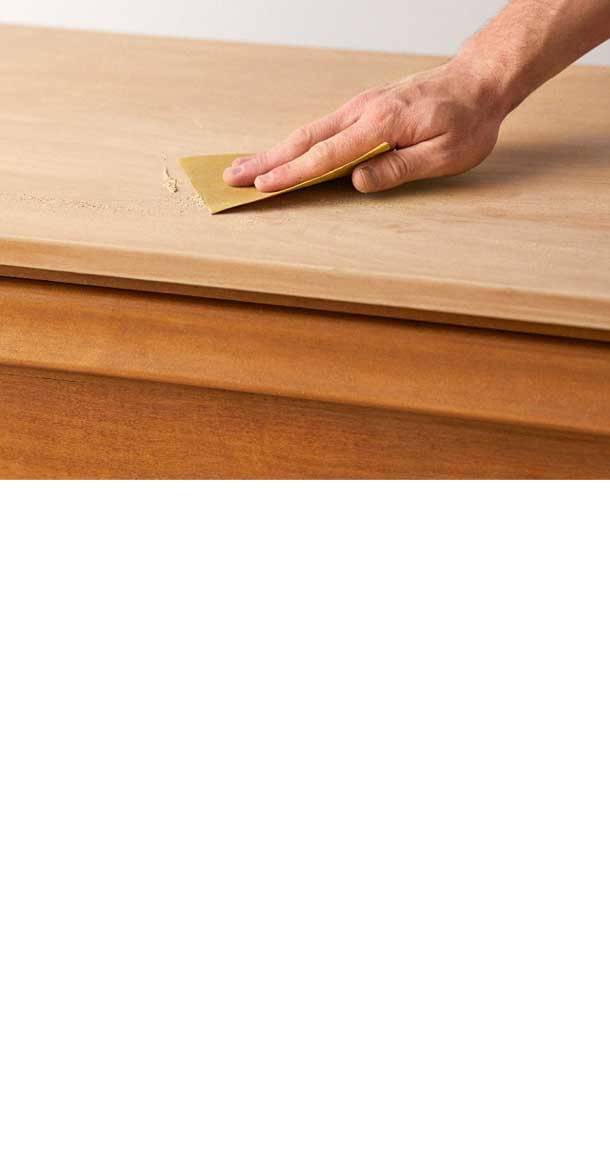
For small, intricate wood projects, sanding by hand is best. Tear or cut a sheet of sandpaper into fourths, then fold each piece until it fits comfortably beneath three fingers of your hand. For large, flat surfaces, an electric orbital or palm sander can also be used, although it is not required. You can also wrap your sandpaper around a scrap piece of wood for flat surfaces.
Powerful belt sanders, however, can do more damage than good on any project wood other than floors. They generally create more scratches than they erase.