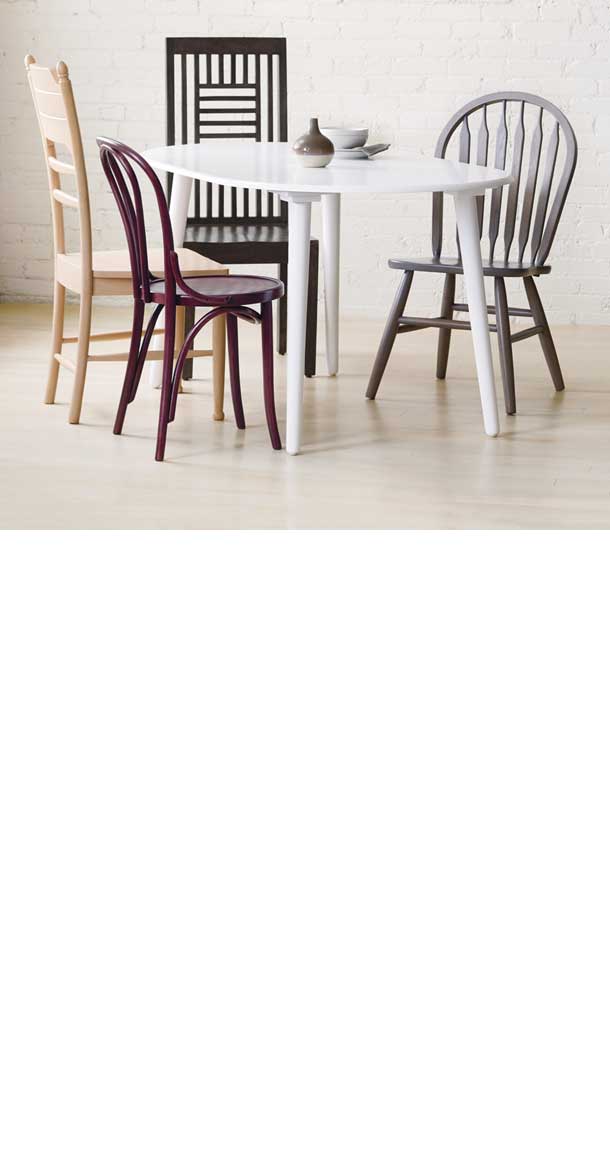
Start to Finish Success With Kit Furniture

Start to Finish Success With Kit Furniture
People are drawn to kit furniture because of its high quality and excellent value. Compared to the price tag of pieces in furniture stores, the cost of kits look pretty attractive. And today’s kits offer both a wide selection of quality woods and an equally broad range of designs, from basic styles to magnificent reproductions.
Kits also offer the convenience of ordering from home – from a catalog or the internet – and you’ll find that assembly tends to be fairly straightforward and clearly described in the directions. And equally important, a kit gives you complete control over the stain color and finish, allowing you to coordinate the piece with your décor.
If you're planning to stain the piece with an oil-based stain, and if the wood is soft or porous, treat it first with oil-based Minwax® Pre-Stain Wood Conditioner. Use Minwax® Water Based Pre-Stain Wood Conditioner first when using Minwax® Wood Finish® Water-Based Semi-Transparent Color Stain on any type of wood. This ensures the most even stain absorption and prevents any blotchiness that can otherwise occur. Be sure to follow all label directions for the product you are using.
Next, apply the stain with a clean, lint-free rag or a bristle or foam brush, taking care to keep it out of glue joints. Staining before assembly prevents glue from getting on the wood surface which tends to seal out stains and produce uneven color. Staining first also ensures complete stain coverage, especially in hard-to-reach areas.
As for choosing a stain, you’ve got a lot of options. Minwax® Wood Finish™, an oil-based stain available in 24 wood-tone colors, gives you plenty of working time to ensure even coverage. Oil-based Minwax® Gel Stain, available in ten wood-tone colors, is thick and viscous and offers more control and less chance of runs or splashes, especially on doors or paneling that you can’t lay flat.
Minwax® Wood Finish® Water-Based Semi-Transparent Color Stain opens up a world of possibilities with 200+ tintable color options that are mixed in the store, allowing you to choose from a wide variety of colors, ranging from traditional wood tones to contemporary blues, reds, greens, yellows and other colors.
For maximum convenience, consider using either Minwax® PolyShades®, an oil-based, one-step brush-on stain and polyurethane available in twelve wood-tone colors in gloss and satin sheens.
Whichever stain you choose, do some practice applications on scrap wood to get a feel for how it goes on, sets and wipes off. You should always do a color test on a small and hidden portion of the kit. Try different waiting times between application and wipe-off and you’ll see slight variations in the resulting colors. And be aware that thin veneers and thick, solid pieces of the same species will absorb different amounts of stain.
After staining, wait a day before proceeding with the assembly. Have a small wet rag on hand to wipe away excess glue that may squeeze out of joints. If you’re using bar or spring clamps, the jaws should be padded or you should put softwood scraps between the jaws and the kit wood to avoid marring it. And unless the manufacturer recommends or provides something else, use yellow carpenter’s glue, which creates a very strong bond. After reading all the directions, work slowly and steadily through each step. When you’re done, set the piece aside for a day so the glue can cure before the topcoat is applied.
Your choice of clear protective finishes includes products that can be brushed or wiped on, and some are even available in aerosol cans. Minwax® Fast-Drying Polyurethane is an oil-based topcoat that comes in gloss, semi-gloss or satin sheens. Minwax® Polycrylic™ Protective Finish is water-based and recommended for use over Minwax® Wood Finish® Water-Based Semi-Transparent Color Stain. Polycrylic™ dries crystal clear in gloss, semi-gloss or satin sheens and cleans up with soap and water. For interior and exterior wood that needs an extra measure of protection from sun, rain and temperature changes, choose Minwax® Helmsman® Spar Urethane in a gloss, semi-gloss or satin sheen. For hand-rubbed beauty, use Minwax® Wipe-On Poly, a polyurethane that provides a thin but durable layer of protection in a gloss or satin sheen.
After the first coat of finish has dried, lightly sand the whole piece with 220-grit or finer sandpaper to knock off any raised grain or bumps from dust. Do the same after each succeeding coat up to the final coat. After that coat you can achieve ultimate smoothness by giving the finish a final rubdown with 600 grit sandpaper dipped in a mineral or lemon oil. That final step will make your finished kit look as good as or better than the piece that’s still sitting in the furniture store.